The Best Self Tanner for a Natural Glow (And My Foolproof Application Tips)
- Madeline Elyse
- Mar 1
- 4 min read


I cut ties with the tanning bed years ago and switched to self tanner — and I’ve never looked back.
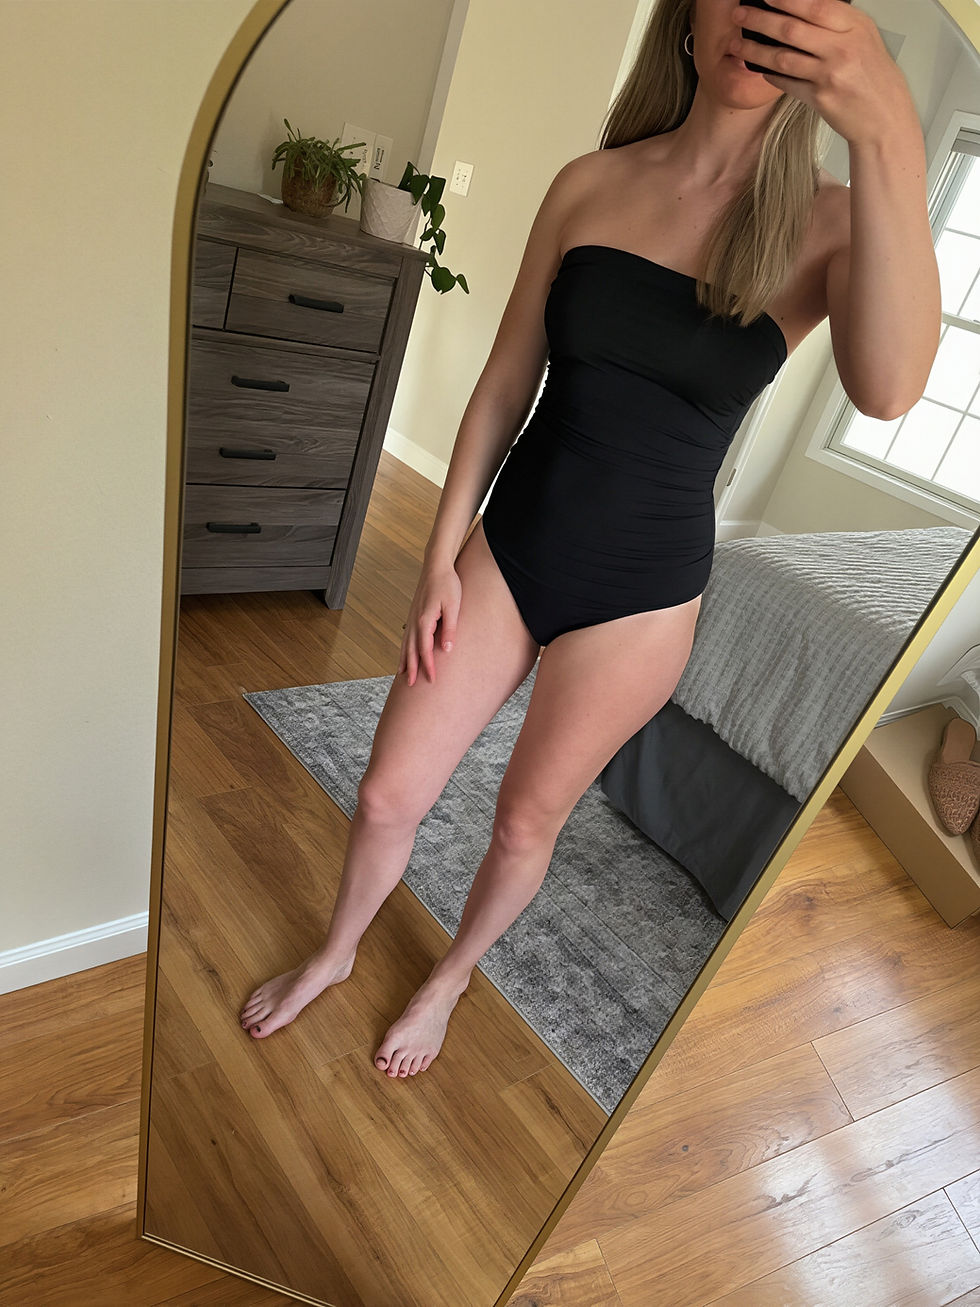
I’ve self tanned through every season of life… vacations, holidays, family photos, and even my own wedding. After trying countless brands over the years, the one I always come back to is St. Tropez Self Tan Classic Bronzing Mousse. It consistently gives me the most natural, even glow without turning orange or streaky.
Self tanning is easy — but it does take practice and a few helpful tricks.
I truly believe your tan is your best accessory. A smooth, bronzed glow instantly elevates any outfit and boosts confidence in a way few other beauty products can.
Below you’ll find my exact routine, favorite products, and tips to help you achieve a flawless, natural-looking tan at home.
This post contains affiliate links. I may earn a small commission if you purchase through my links, but I only share products I personally use and trust.
Why I Switched to Self Tanner
Tanning beds were once the norm, but the long-term skin damage simply isn’t worth it. Self tanning gives you:
A natural, sun-kissed glow
Even skin tone
The appearance of smoother, more toned legs
Confidence in every outfit
Zero UV damage
And when done correctly, no one can tell it’s fake.
Step 1: Plan Ahead
Do not self tan the day of an event — or even the day before if it’s your first time.
If you’re new to self tanning, I highly recommend a practice round well before a big event. There is a learning curve, especially when it comes to blending hands, feet, and dry areas.
At minimum, give yourself a one-day buffer between application and your event so the color can fully develop and settle.
Step 2: Skin Prep Is Everything
The day before applying self tanner is all about preparation.
✔ Exfoliate your entire body
✔ Shave
✔ Apply a generous amount of lotion
Be sure to apply extra lotion to:
Knees
Elbows
Ankles
Hands
Around the mouth and nose
Any dry patches
Dry skin absorbs more product and will appear darker.
What You Wash and Exfoliate With Matters
Not all products are self-tan friendly.
My Favorite Exfoliator
I use the classic St. Ives Fresh Skin Apricot Scrub — yes, the “sandpaper scrub” from middle school days. It remains one of the most effective exfoliators I’ve ever used for prepping skin before tanning.
My Go-To Body Wash
I use Cetaphil Gentle Skin Cleanser before and during my tan because:
It doesn’t strip moisture
It doesn’t leave residue
It helps preserve the tan
And I’ll say it loudly:
Dove Beauty Bar is a fake tan enemy.
It leaves a film that can interfere with development and cause uneven fading.
Moisturizer Matters
After exfoliating, use a high-quality moisturizer. I personally love:
Hempz Original Herbal Body Moisturizer
Billie Whipped Body Lotion
Hydrated skin = even tan.
For my face, I stick with my normal skincare routine. I can always adjust depth with makeup, so I don’t overthink facial prep.
Step 3: The Day of the Tan
Check your tanning solution’s development time and plan accordingly.
My St. Tropez Self Tan Classic Bronzing Mousse requires about 6 hours to develop.
I typically:
Apply in the afternoon
Sleep in it overnight
Rinse in the morning
Overnight development tends to give me the best results.
I use a tanning mitt, though some people prefer brushes.
If you’re worried about bedding:
I personally haven’t had staining issues (I use dark sheets), but you can wear loose dark clothing or use a sleep sack if concerned.
Important: Face Timing Is Different
Your face develops darker and faster than your body.
I apply the tanner to my face but rinse it off in about half the recommended body time. Do not leave facial self tanner on too long.
Re-Moisturize Before Applying
A few hours before applying your tan, lightly moisturize:
Knees
Elbows
Ankles
Hands
Dry areas
This creates a barrier and prevents dark patches.
How to Self Tan Your Back
If someone is available, have them apply it for you.
If not? Here’s my DIY solution:
I put my tanning mitt over a long-handled serving spoon and use that to reach my back. It works surprisingly well.
There are also back applicator tools available (linked in my storefront) if you prefer something more official.
Rinse and Be Amazed
After development time:
Rinse with lukewarm water
Avoid soap on the first rinse
Pat dry gently
And enjoy that glow 🤎
How to Make Your Tan Last Longer
To preserve your self tan and ensure it fades evenly:
Moisturize daily
Gently exfoliate daily
Avoid harsh body washes
Use moisture-based sunscreens
Hydration is key to preventing patchiness.
Final Thoughts: The Dopamine Boost Is Real
Self tanning truly is a trial-and-error process — but once you find your routine, it becomes second nature.
There’s something about a fresh tan that:
oMakes outfits pop
Makes legs look smoother
Boosts confidence instantly
Feels like a mini glow-up
Your tan really can be your best accessory.
And once you nail your routine, you’ll wonder why you ever did it any other way.
All products can be found in my amazon storefront: https://amzn.to/4s8jQts


Comments